
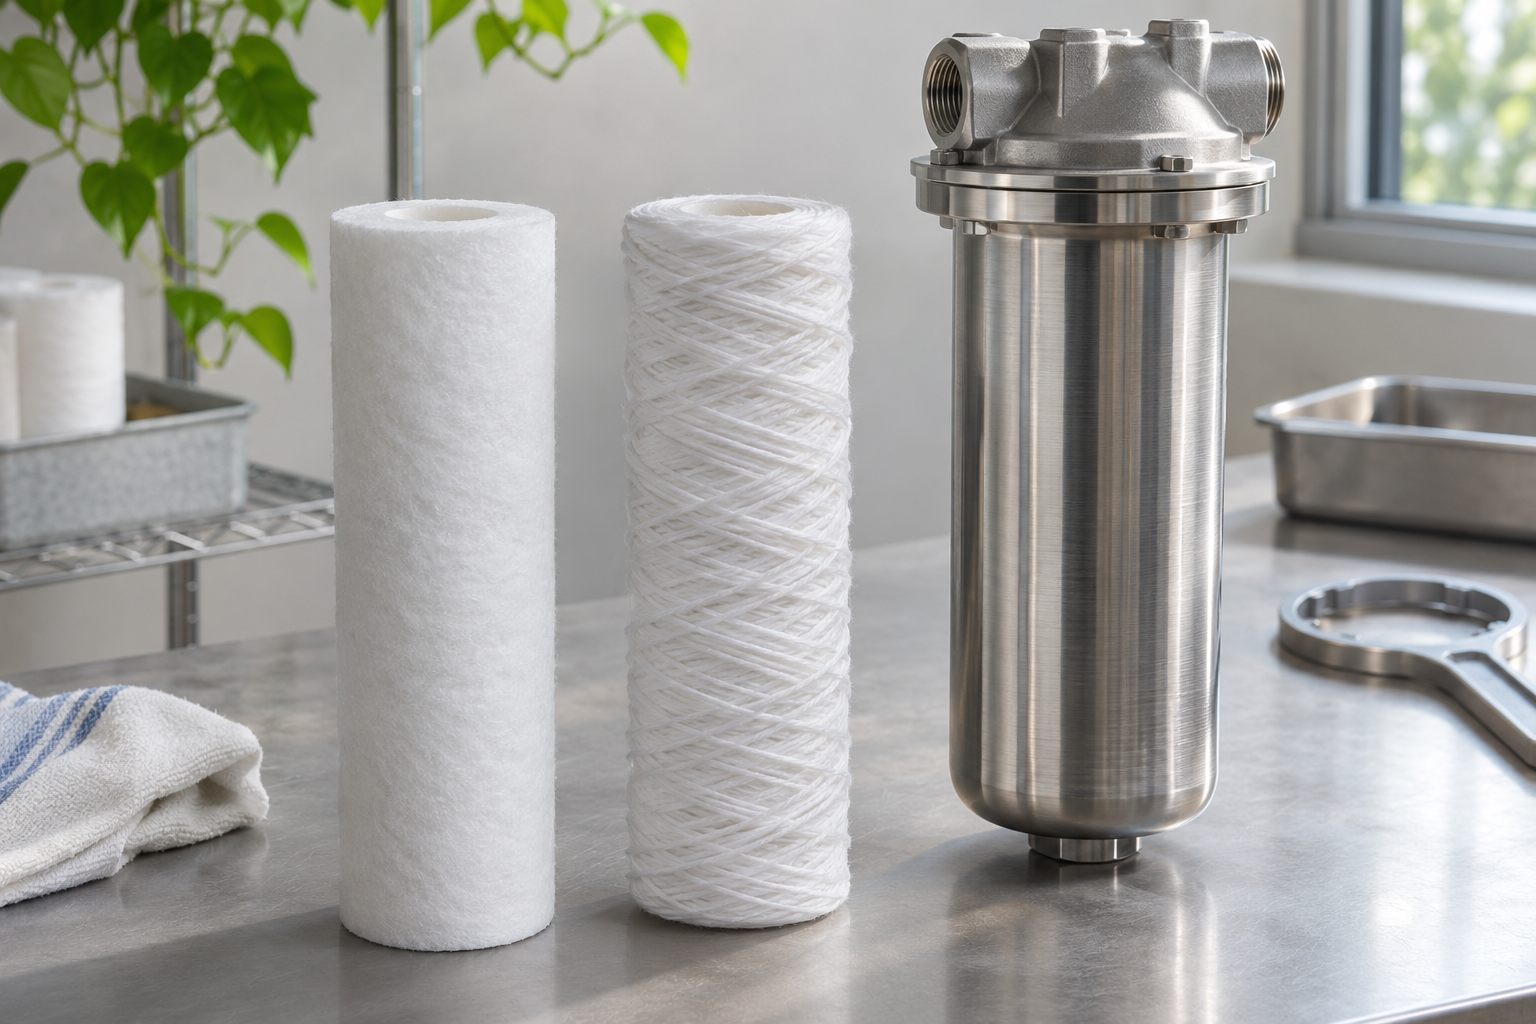
Do not order a replacement by the phrase “standard length” or by appearance alone. Before changing cartridges in a multi-element housing, confirm the vessel model, cartridge length and outside diameter, end-cap connection, seal arrangement, element count and installation direction. Similar-looking cartridges can have different end fittings or seals and may not fit or seal correctly.
Identify the housing and the existing cartridge
Photograph the vessel nameplate, internal support plate and both ends of the used cartridge. Record its length, outside diameter, end configuration and seal locations. Check whether the assembly uses a center post, end cap, locating feature or other retention part. If the old element is bent or compressed, its measured length may be misleading; compare it with the equipment drawing, purchase record or supplier documentation as well.
Manufacturer data sheets commonly distinguish cartridge length, end-cap configuration and seal material as separate selection details. Confirm each detail for the replacement model rather than assuming that one matching dimension is enough.
Check the vessel count and installation space
The number of cartridges and their arrangement are tied to the internal support and sealing surfaces. Confirm every element can be positioned and secured as specified, and that the end plate or support seals correctly. Inspect the housing for damage or residue when it is safe to do so. Do not force a cartridge into place or use an improvised gasket to make up a dimensional difference.
If the specification is unclear, pause procurement and ask the supplier to confirm compatibility in writing using the vessel model and photographs. When a site has housings from different generations, identify each vessel separately rather than treating one old cartridge as proof of fit for all of them.
Verify the replacement before a full change-out
Before installation, compare the received label and dimensions with the purchase specification. Record the brand, model, batch, installation date and initial operating condition. If flow, pressure or leakage changes after replacement, first check the part number, end connection, seal position and installation direction against the equipment documentation.
| Item | What to confirm |
|---|---|
| Housing | Manufacturer, model and internal support arrangement |
| Cartridge size | Length, outside diameter and required number of elements |
| End connection | End-cap type, locating feature and center-post fit |
| Seal | Seal location, material and specified compression or seat |
| Installation | Flow direction and model-specific retention method |
| Traceability | Element model, batch, change date and initial readings |
Precision filter products and inquiries
Shenzhen Guangxiangyu Technology Co., Ltd. supplies precision filter housings, filter cartridges and related filtration equipment. For help identifying multi-cartridge replacements, provide the housing nameplate, old cartridge photos and dimensions, end connections and seal details to Liu Nan, Sales Manager, at LiuNan2553@gmail.com. Confirm the fit against the documentation for the exact vessel and cartridge model.
See our precision filter housings, filter cartridges and contact page.
Technical reference
Parker SPUNFLOW QA cartridge data sheet lists cartridge dimensions, end-cap configuration and seal material separately. Check the specification for the specific element being considered.